Power of estimation for developers

Blog on web and travel
Posted on 17 Jan 2012 by Amitav Roy

This is a continuation of the previous tutorial. In this part, I will show you how to separate business logic from views and use models inside Codeigniter.
In the previous tutorial, we have seen what are the basic configurations that we need to do before we can start working on the framework. We created our first controller “Blog” and a method “index” which is the default page whenever someone goes to the blog section.
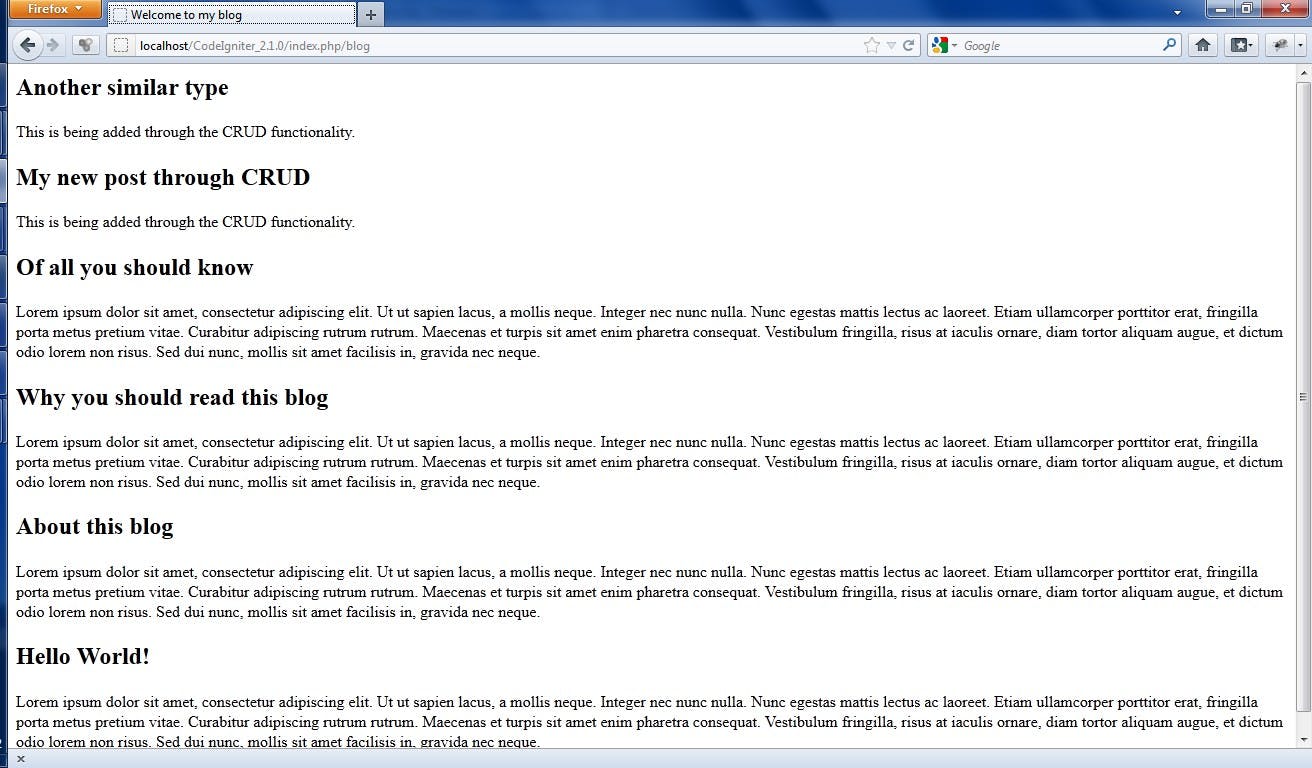
Then, we created a view which will be used for presentation of the data. And we also saw how we can pass data from a controller to a view.
Now, going by the MVC pattern it is not a very good idea to have business logic inside our controller. That is not something the controller is supposed to do and this is where “Models” come into play. Models are meant to contain all our business logic, database query and other codes. So, after setting up some configurations we will create our first model.
We will set up the autoload.php with a few configurations. This is the file where we can specify which all libraries, helpers will load automatically.
For example line 55 of autoload.php i.e. $autoload[‘libraries’] = array(‘database’); makes sure that we can use the db functions directly without always loading the helper.
Then on line 67 $autoload[‘helper’] = array(‘url’,’html’); This provides us with the url and html helpers which comes very handy.
You can explore other helpers and libraries on Code Igniter website or even the user_guide which comes along with the source code. And if you feel that you need them, then you can configure your application accordingly. But make sure you don’t overload. For example, form is a very common helper, but personally speaking, it is not one which I will load automatically because it is not required on all the pages.
Like the controller, we will find the models folder where CodeIgniter looks for the models. So, let’s create a new file. Again some naming conventions: it is always a good idea to have model names based on the table names of the database and have table-specific code inside the model. For example, the file name of my model fill is “model_data” because the table where my blog data is getting stored is data, and I like to have a prefix model so that it is easy for me to understand that it is a model and view any other file.
Here is a snapshot of my model_data.php
The model is always a class with name same as the file name and it should extend CI_Model class.
Inside the class, I have a function getAllBlogData(). This is where I am making a query to the database using the database class.
You can see that I have used $this->db->where() function. This is part of the active record functionality of Code Igniter. Although you can write queries normally, but using Active Records have its own benefits.
If you convert the three lines of code from 5 to 8, it will basically turn into this query “SELECT * FROM data WHERE published = 1 ORDER BY id DESC”.
The rest is simple logic where $query->num_rows gives us the number of rows returned from the query, $query->result() is iterated to get each entry from the query result etc etc etc…
The whole array is then returned to the controller. Here is the code of my blog controller:
On line 9, we have loaded the model “model_data” and then inside the $data array, we have set blogdata to have an array of data which is being returned from the model_data’s getAllBlogData method.
This is how we will get the array in the view and there we can use foreach to iterate through the results and display the content as we want. Here is my view code snapshot:
In the next part, we will see how we can add CSS, jQuery and also a global view which we will use as a template like we do master pages in ASP.